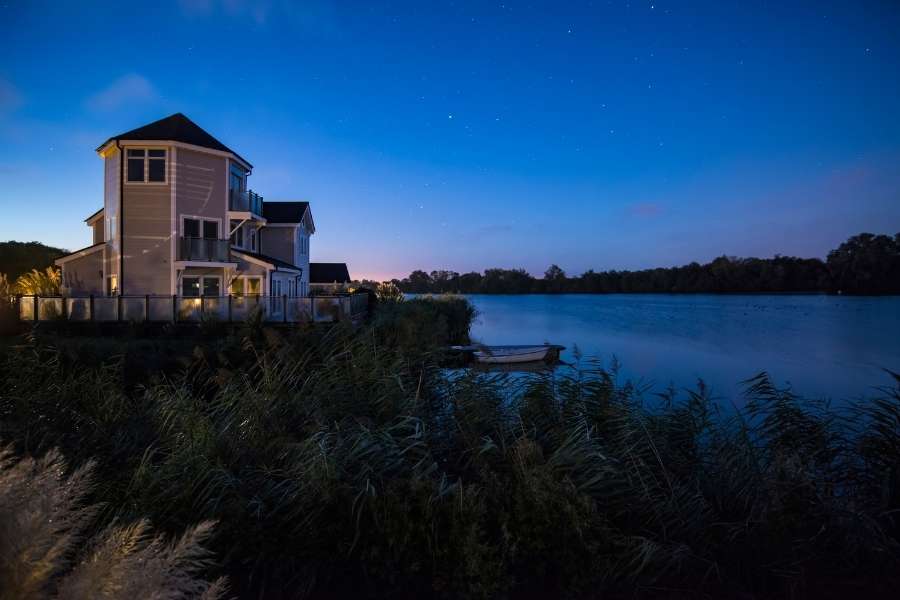
Have you ever looked up at a desert sky at midnight? The silence feels huge. Millions of stars burn bright above you. Out here, light pollution disappears. The universe puts on a wild show. Desert nights offer clean air and massive views. They give you a real chance to shoot stunning astrophotography.
Shooting the stars is pure magic. Yet sand and pitch darkness bring real challenges. You need a solid strategy. You need the right gear setup. Good camera settings make a huge difference. Let us dive right into the desert night.
Why Deserts Give You the Cleanest Views of Space
City lights destroy your view of distant stars. Streetlights create a thick yellow haze. That haze masks faint cosmic details. Deserts sit far away from big cities. They protect true dark skies.
The air stays dry over the sand. Water vapor scatters light and creates blur. Desert air has very low humidity. That stability gives your camera lens a clear view. It lets you capture deep space with intense contrast. Many photographers enjoy desert glamping when sleeping under stars comes with room service during their night shoots.
| Bortle Scale | Sky Quality | Galactic Core Detail | Best Use Case |
| Class 1 | Pristine dark | Shadows cast on ground | Deep space and stunning astrophotography |
| Class 2 | Truly dark | Highly detailed structures | Wide desert views and remote stargazing |
| Class 3 | Rural sky | Visible core with horizon glow | Foreground landscapes and night photography |
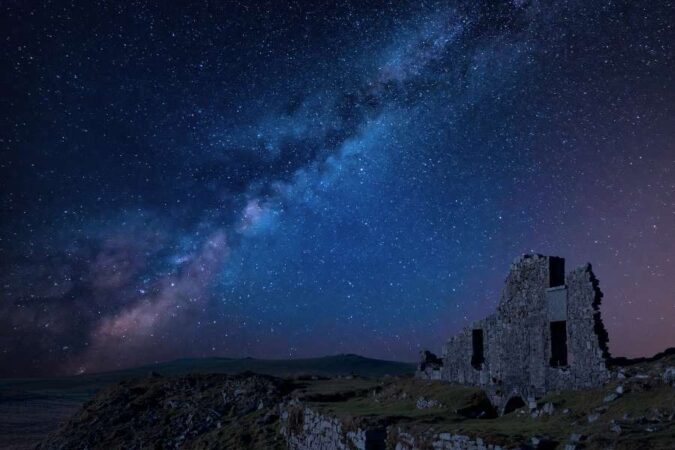
Essential Gear You Need Before Headed Out
Remote locations forgive zero mistakes. Equipment failure ends your night fast. Pack reliable gear before you drive out. Some travelers even combine night shoots with motorbike tours through iconic USA landscapes to reach remote spots.
Key Takeaway: Solid stability matters more than high megapixels when shooting faint stars.
Cameras and Lenses That Work Best
Full-frame cameras excel in dark environments. Their large pixels collect light fast. That creates a clean image signal. Modern crop-sensor cameras work great too. Pair them with fast glass for top results.
Your lens shapes your final photo. Pick a wide lens between 14mm and 24mm. Wide views capture sweeping skies and sand dunes. Pick a maximum aperture like f/1.4 or f/2.8. Wide apertures let in critical starlight.
Light Intake Speed: f/1.4 > f/1.8 > f/2.8 > f/4.0
How to Use a Sturdy Tripod on Shifting Sand
Wind pulls at your camera gear. Soft sand moves under heavy weight. Any minor motion ruins a long exposure shot.
- Sink the legs: Push tripod legs deep into sand until you hit solid soil.
- Add foot pads: Use wide baskets or coasters to stop slow sinking.
- Hang weight: Hang a heavy bag from the center column to stop wind shake.
- Widen the base: Spread the tripod legs wide for maximum support on dunes.
Setting Up Your Camera for Crisp Stars
You must control exposures manually at night. Auto modes fail in the dark.
Quick Formula = Wide Open Aperture + 500 Rule Shutter + High Clean ISO
Finding Your Shutter Speed, Aperture, and ISO
The Earth rotates every single second. Long exposures turn sharp stars into trailing lines. You need a fast calculation. Use the classic 500 Rule. Divide 500 by your lens focal length.
$$\text{Max Seconds} = \frac{500}{\text{Focal Length}}$$
A 20mm lens allows 25 seconds before stars streak. Keep exposures slightly shorter for sharper points.
| Focal Length | Max Shutter Time | Real-World Setting | Best Aperture |
| 14mm | 35 seconds | 20 seconds | f/1.8 to f/2.8 |
| 20mm | 25 seconds | 15 seconds | f/1.4 to f/2.8 |
| 24mm | 20 seconds | 12 seconds | f/1.4 to f/2.8 |
Set your aperture wide open. Set your ISO between 1600 and 6400. That range amplifies light without overwhelming noise.
Nailing Manual Focus in Complete Darkness
Autofocus cannot see faint stars. Switch your lens to manual focus mode. Turn on camera Live View. Zoom in on a bright star. Turn the focus ring slowly. Make that star tiny and sharp. Tape the focus ring down.
Pro Tip: Check a test shot at maximum magnification on your LCD screen.
Frame the Milky Way Over Desert Dunes
The galactic core looks incredible in photos. It adds rich color and scale.
Composition Goal = Frame Galactic Core + Anchor Dunes + Balance Light
Foreground Ideas and Lighting Hints
Sand dunes bring scale to vast skies. Position low to catch fine sand ripples. Leading lines direct the eye straight upward.
| Planning Step | Action Needed | Recommended Method |
| Timing | Shoot from March to October | Plan around the New Moon phase |
| Foreground | Add subtle light on sand | Use low-power LED panels |
| Focus | Keep foreground and stars sharp | Blend two stacked shots in post |
Tips to Stay Safe and Protect Gear
Deserts get very cold at night. Temperatures drop fast after sunset. Pack heavy windproof layers. Pack thermal gloves and a hat.
- Protect optics: Keep lenses in sealed bags against blowing sand dust.
- Save batteries: Cold air drains battery power very fast. Keep spares warm.
- Use red light: Red headlamps preserve your natural night vision.
Frequently Asked Questions
What is the best time to shoot the Milky Way?
Shoot from late March through October. Plan your trip during a New Moon phase.
How do I protect my gear from fine sand?
Keep cameras inside closed bags when idle. Never swap lenses out in dusty wind.
Can I take great photos with entry-level gear?
Yes. Use a fast lens and a steady tripod. Master manual focus techniques first.
Why are my stars blurring into short lines?
Your shutter speed ran too long. Shorten your exposure time using the 500 Rule.
Do I need a motorized star tracker?
No. Single exposures under 20 seconds capture great detail without any tracker.